
Managing Azure Resources is a piece of cake, isn’t it? Just log into the Azure portal, select or create a resource group and begin administering your resources. Quite straightforward, right?

But, let’s say we have a case where we have to have 9 Windows 2016 Servers installed for a new team of developers that are joining the team next week and 5 Test Agents to be hosted on different versions of Windows with multiple browsers installed, which developers and testers will use to run their UI tests remotely.
Our 1st challenge is how we can provide all this infrastructure and applications on such short notice?
2nd challenge is about test environments. We are going to be running UI tests, which tend to leave residual test data in our browsers and disks, such as cached data.
There could potentially be a 3rd challenge if we have to use PowerShell for provisioning the machines and an Apple computer.
Let’s tackle one issue at a time…
1st. Provisioning and managing resources
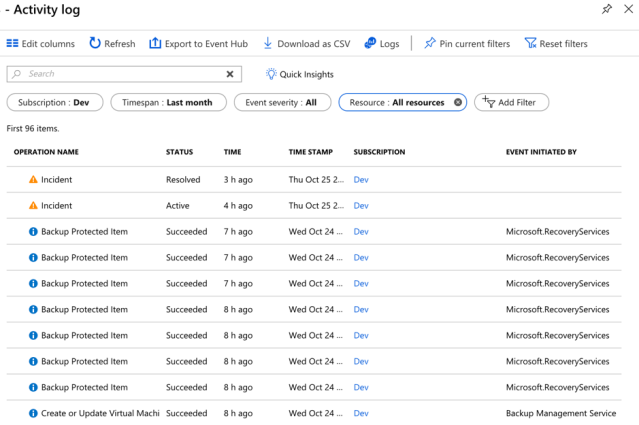
As I said previously, you can create and manage all the resources from the Azure portal, but this is a manual step, which once done (a process that can take minutes), the only way to track of what has been deployed is the Activity Log. The rest of the info can be extracted from the service plan or sku (if any) or the properties of the resource.
A more elegant and cost-efficient way to manage and deploy your resource catalogue is using Terraform.
Terraform can help us create our deployment plans and keep track of what’s being deployed, deploy a given resource just applying the plan, destroy the resource in a click and redeploy it again with another click.
For most of the resource’s properties, we can go to our terraform file to change the property we want and then re-apply the changes. If it requires a full rebuild of the resource, Terraform will tell us and will then do this for us.
In the case of our 9 Windows Server machines, we just need one terraform template for designing the machine specs, network, security, OS image and disk and then to create one property variable file per machine.
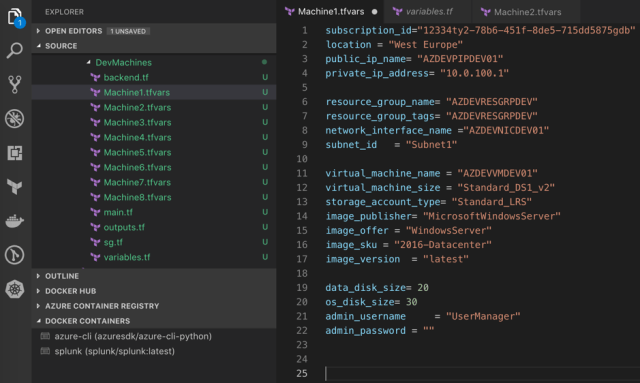
Same applies for the 5 test agents in our scenario.
With Terraform we can manage not only VMs but Data Sources, App Services, Authorization, Azure AD, Application Insights, Containers, Databases, DNS resources, Load Balancers and much more!
Some of you may think to use ARM templates but I personally find them full of clutter and too complex when compared with the simplicity of Terraform.
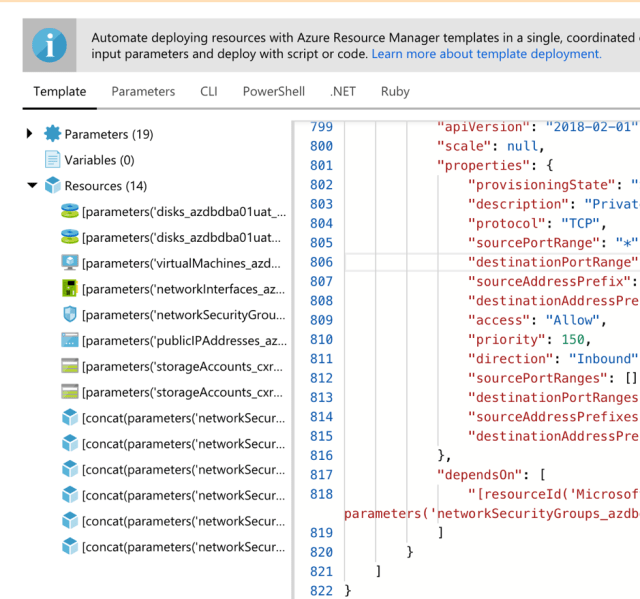
(example of 1 machine exported to ARM template. More than 800 lines of script!)
2nd. Test Environments
Test environments are expensive. Microsoft offers something called Dev/Test Labs, where you can quickly deploy test environments and schedule them to go up and down according to your needs. But this is not enough, we want to create the test environment, deploy the test agent, provisioning it with the configuration we need, run the tests and then destroy the environment.
I’m not going to dive into the configuration provisioning or test runs in the deployment pipeline as I will leave it for a separate post, but it is worthwhile to mention the continuous deployment of environments.
If we already have a template to create the Azure resources we just need to activate it with a button. This can be triggered just with a job that can be hosted on Azure Pipelines, Jenkins, Team City, Octopus Deploy or similar deployment pipeline orchestrators.

Such deployment could be fully automated without requiring pre-approval or we can use the deploy button on demand.
The main point for discussion is not the tool but the process, and we have already started the process abstracting the infrastructure into Terraform. Now, it’s just about applying our plans on demand. It could be as simple as:
terraform apply -var-file=MachineX.tfvars
For those who are more adventurous and don’t want to use terraform they can use ARM templates which can be used in your CD pipelines or even, if you fancy it, create your own Azure Function that runs a PowerShell script that deploys your infrastructure.
3rd. Azure from Mac
Most people associate Azure with Windows and AWS with Linux, well, that’s a myth.
You can manage Azure from macOS, Windows, Linux or others, but here are some recommended tools to manage your Azure Resources.
Option 1. Install and use Azure CLI.
The Azure CLI is Microsoft’s cross-platform command-line experience for managing Azure resources.
Option 2. Azure Portal: https://portal.azure.com.
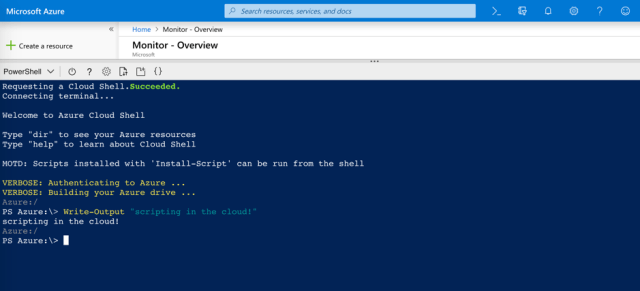
Azure portal not only offers you a nice GUI to deploy and maintain your resources, but it also gives you a remote Bash or Powershell! Just open your portal and click on the top bar in the icon >_
Option 3. Powershell and Powershell core.
PowerShell Core is a version of PowerShell that can run in any platform and that is based on .NET Core, and not .NET like his predecessor PowerShell. If you are currently using Windows 10 you can use out of the box PowerShell 5.1, and this latest version of PowerShell Core v6.0. Otherwise, you can use PSCore in your Mac.
Once you have PowerShell Core on your Mac or Linux distro, you can install the modules for Azure
Option 4. Terraform.
Avoid the portal, scripting with PowerShell or even managing Azure from your APIs. Just try out Terraform and manage your resources from only one place.
I hope you have enough to start managing your Azure resources and find out what is the best way for you to deploy all those machines with no effort.
Enjoy it!
